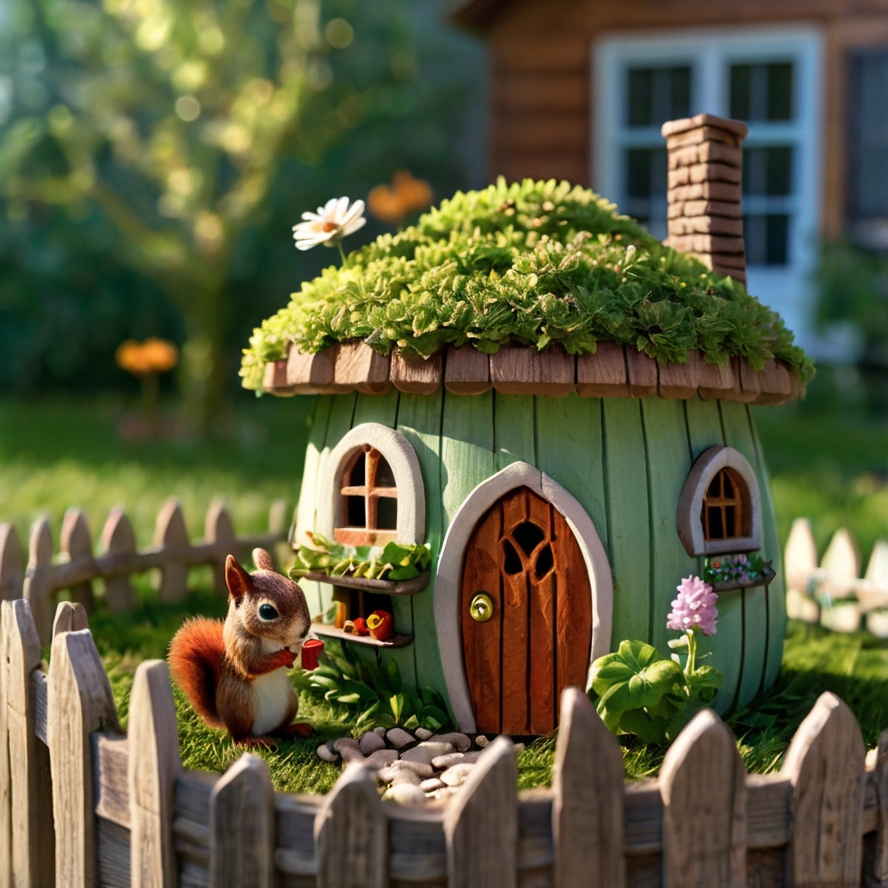
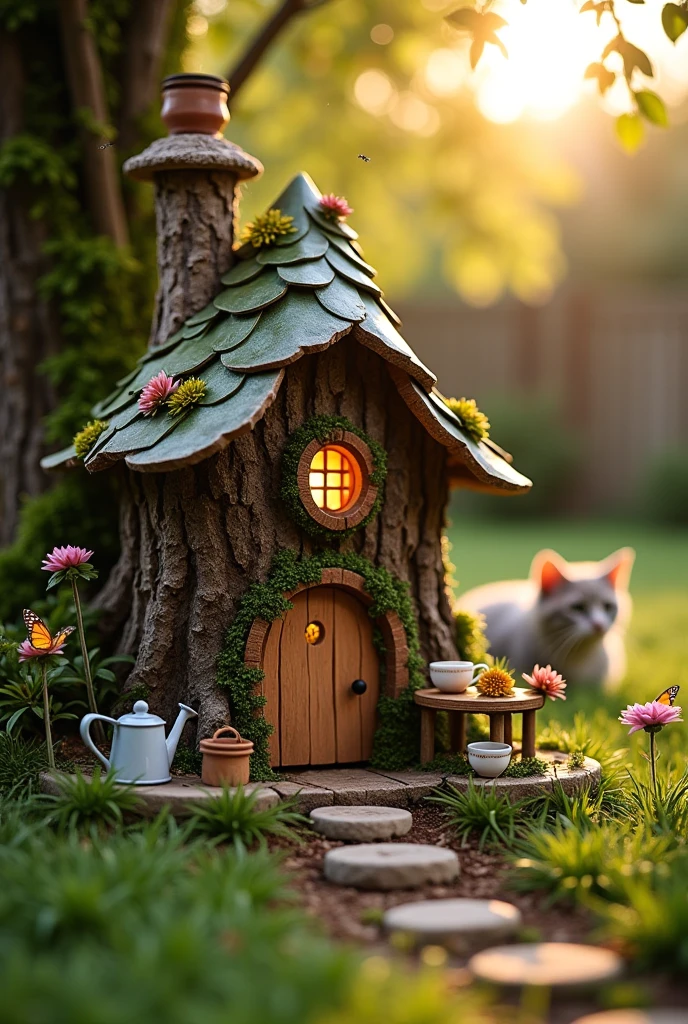
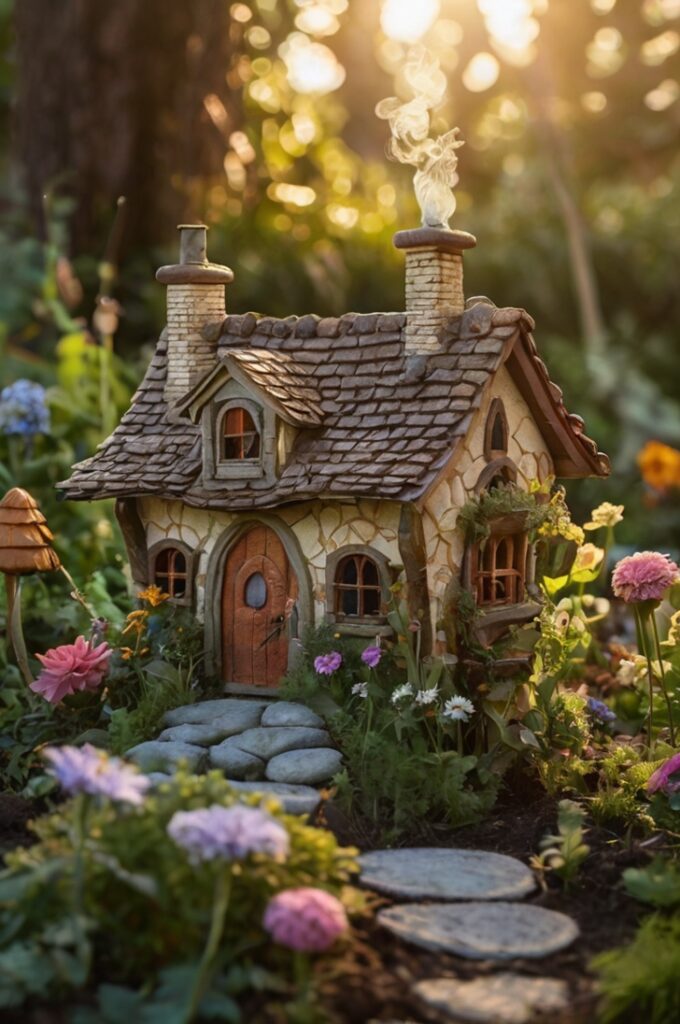
Have you ever dreamed of creating a magical miniature world right in your backyard? DIY fairy houses using natural materials are a charming and eco-friendly way to bring enchantment to your garden or outdoor space. Whether you’re crafting with kids or exploring your own creative side, building fairy houses can be a relaxing and rewarding project. In this guide, you’ll learn how to gather materials, build your fairy house, and decorate it in whimsical, nature-inspired ways.
Why Build a Fairy House?
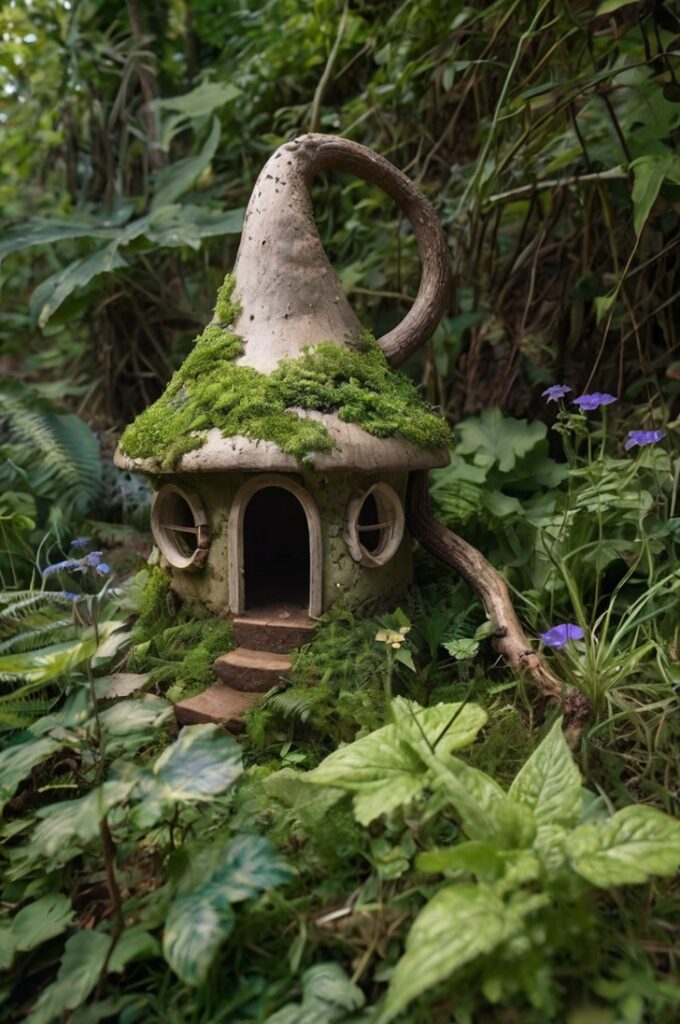
Creating a fairy house from natural materials not only sparks the imagination but also encourages an appreciation for the environment. This eco-conscious craft is perfect for all ages and connects us with nature in a fun and interactive way. From pine cones to pebbles, twigs to bark, every element tells a story in your miniature fairy realm.
What You’ll Need: Natural Materials for Fairy Houses
The beauty of this project lies in using what’s already available in nature. Here’s a list of popular natural materials for DIY fairy houses:
- Twigs and small branches (ideal for framing)
- Pine cones and acorns (for texture and decoration)
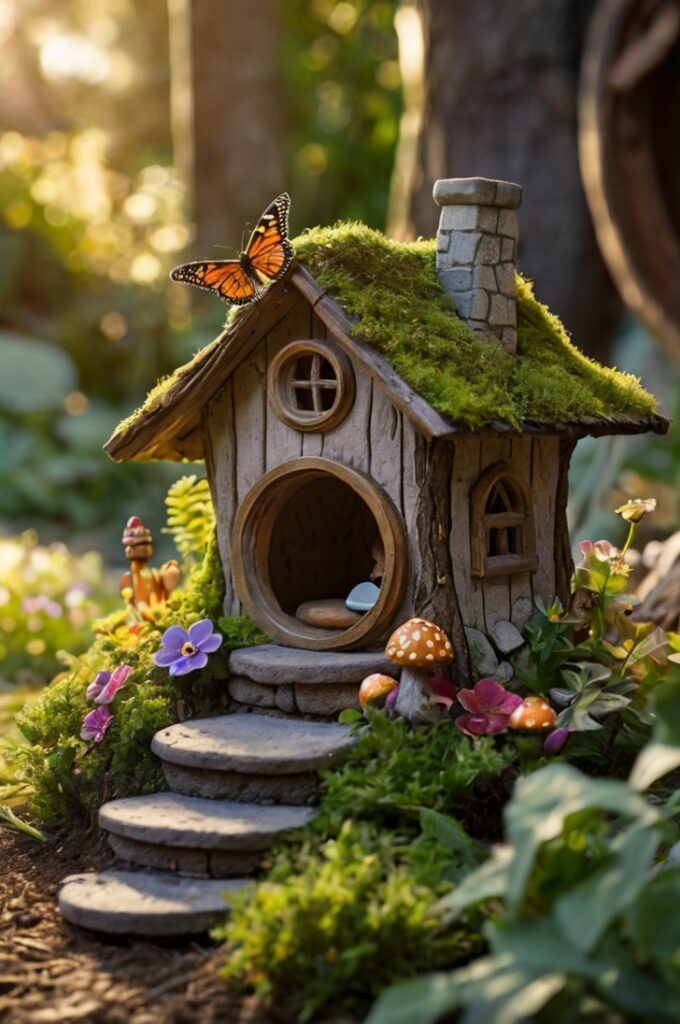
- Tree bark (great for walls and roofing)
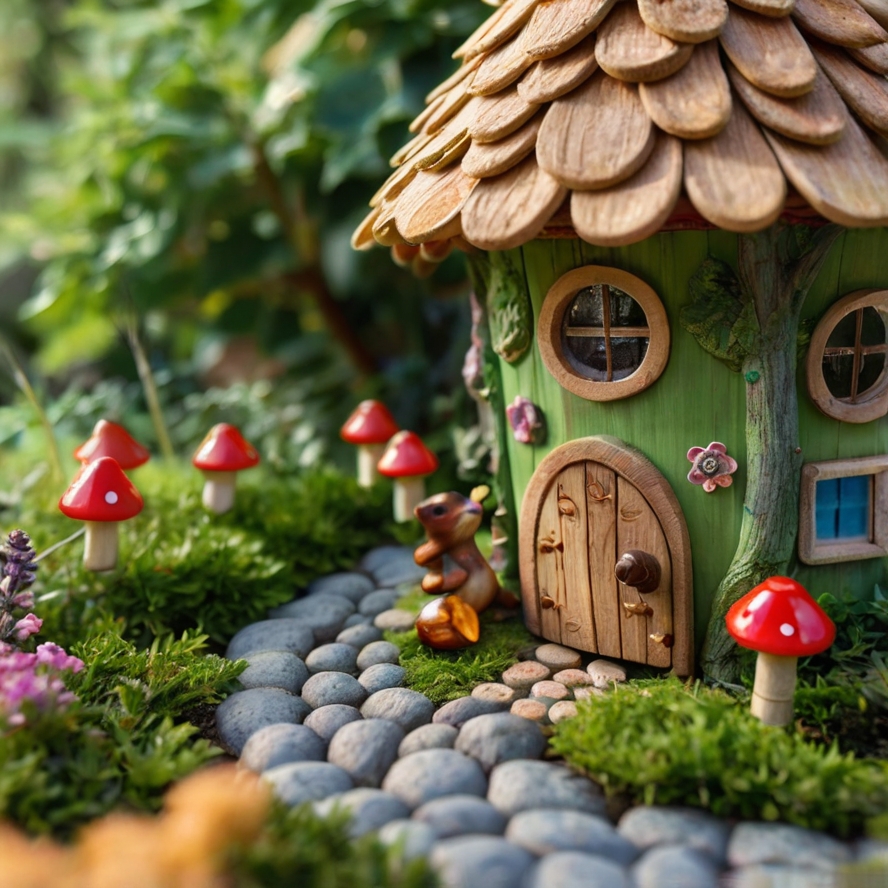
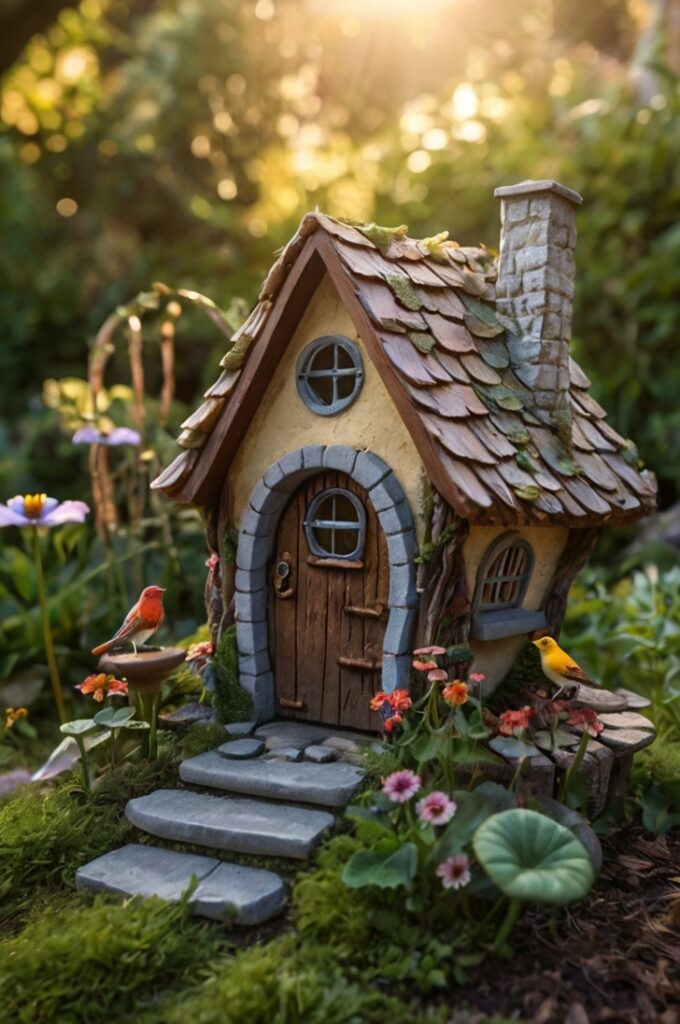
- Pebbles and stones (used for pathways or foundation)
- Leaves and moss (for roofing or garden decoration)
- Shells, feathers, dried flowers, and seed pods (add whimsical details)
Gather these items on a nature walk or from your garden. Just make sure not to disturb wildlife habitats—collect only fallen or discarded materials.
Step-by-Step Guide to Making Fairy Houses
Step 1: Choose Your Location
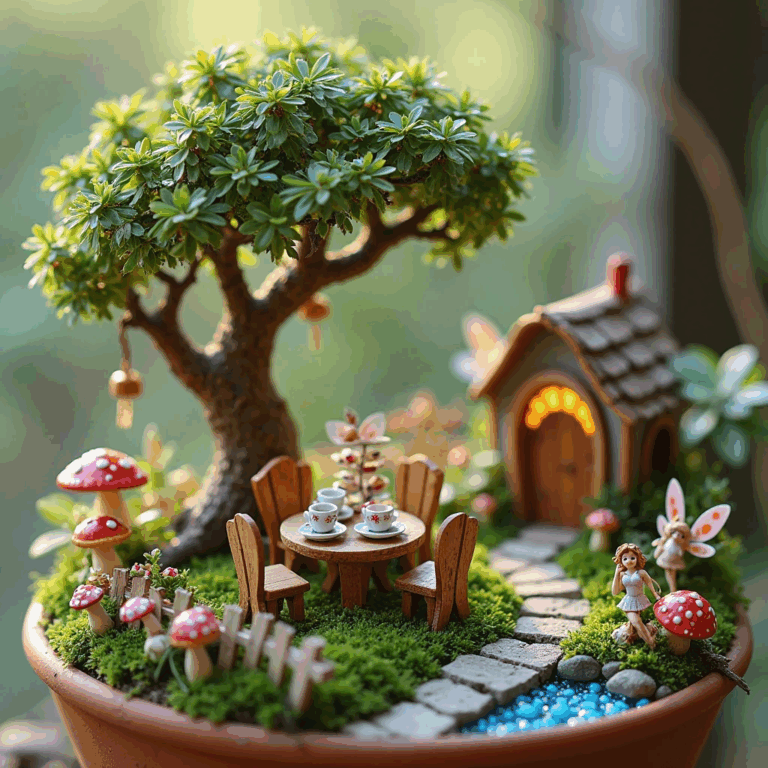
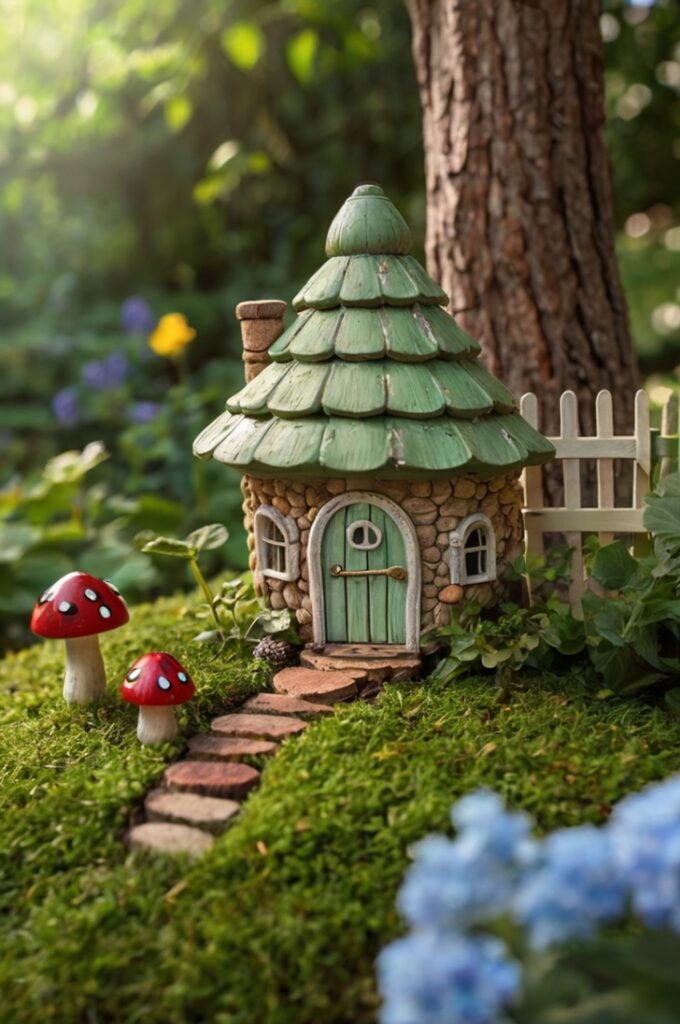
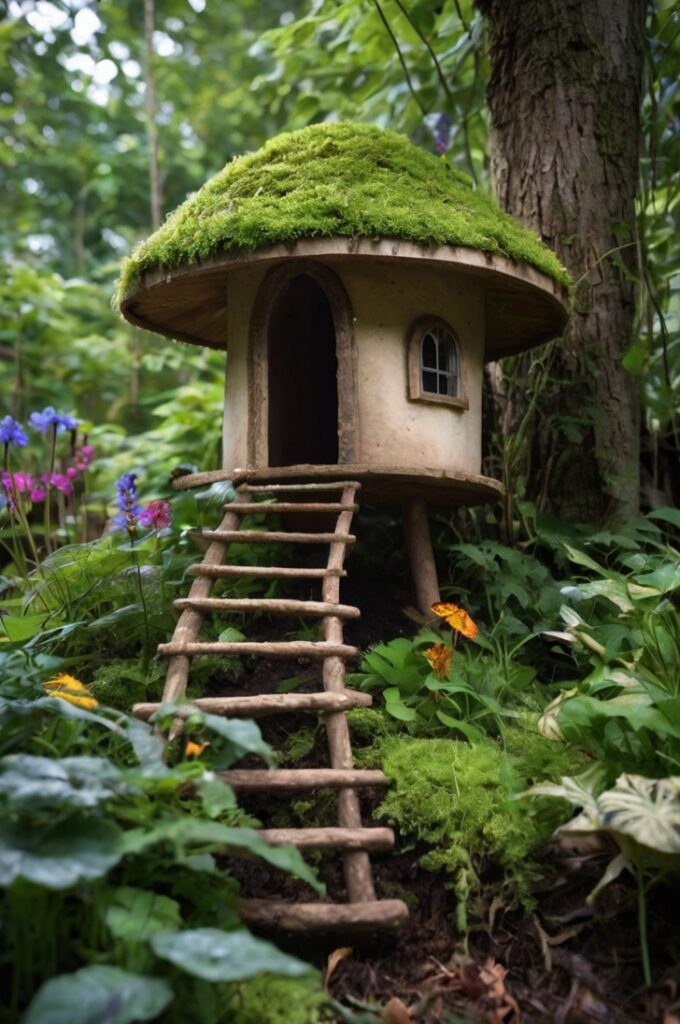
Select a spot in your garden, at the base of a tree, or even in a large pot. Location is key when building a fairy house outdoors—look for a sheltered, flat area with good drainage.
Step 2: Plan the Design
Sketch out a rough idea of what you want your fairy house to look like. Will it have a tiny front porch? A pebble path? Planning helps you visualize and choose the right natural elements for fairy house construction.
Step 3: Create the Frame
Use twigs and bark to build the frame of the house. Hot glue or natural adhesives (like pine resin) can help hold pieces together. For a more rustic feel, tie parts together with twine or natural fibers.
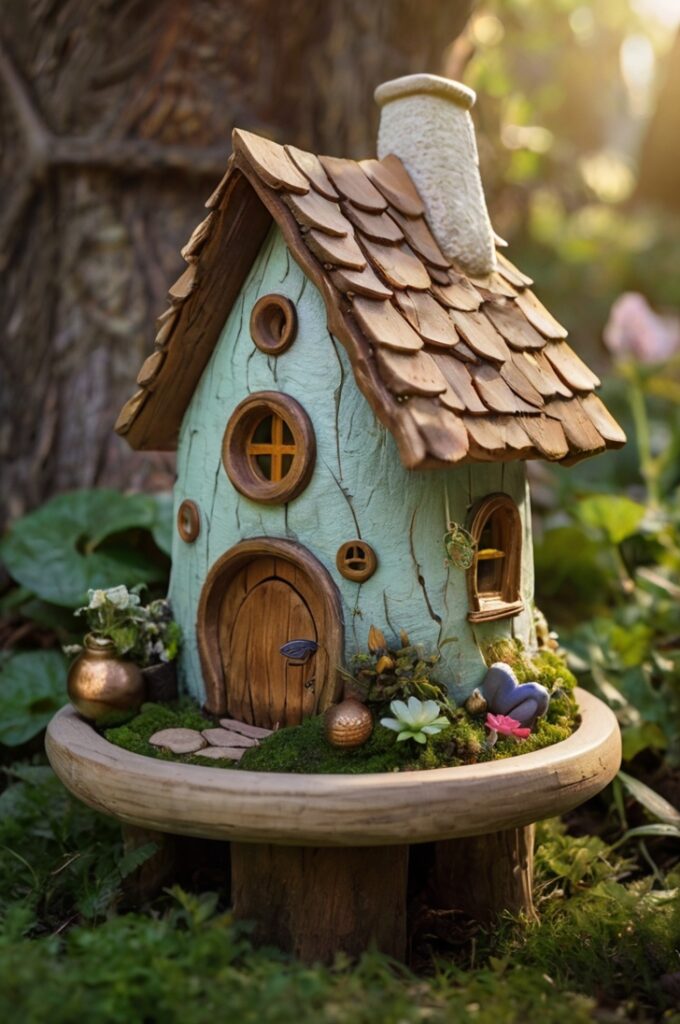
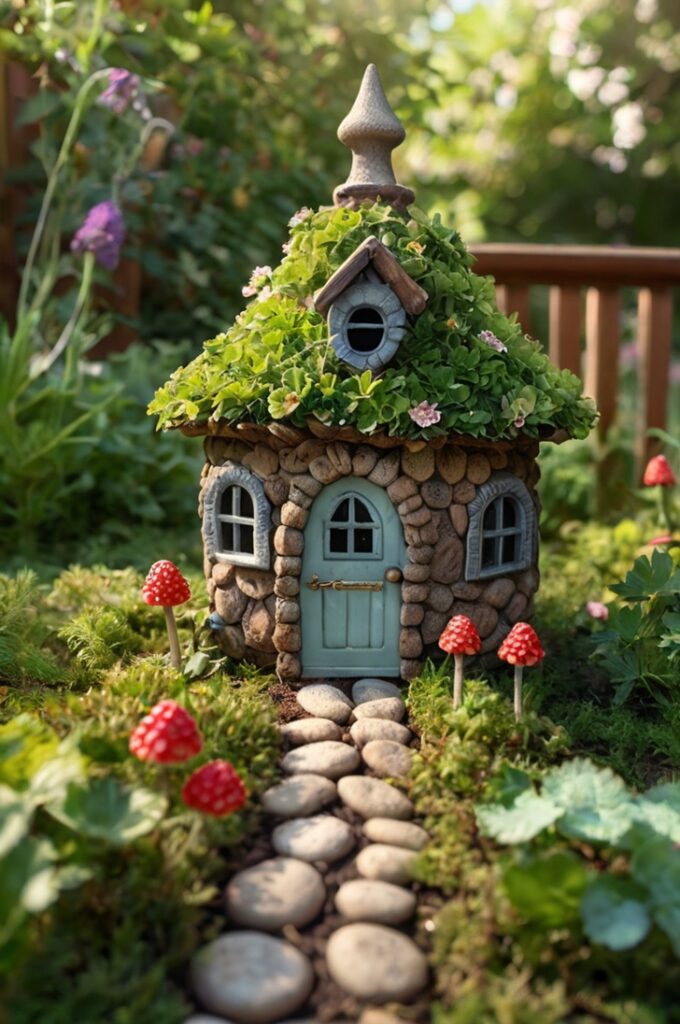
Step 4: Add Walls and Roof
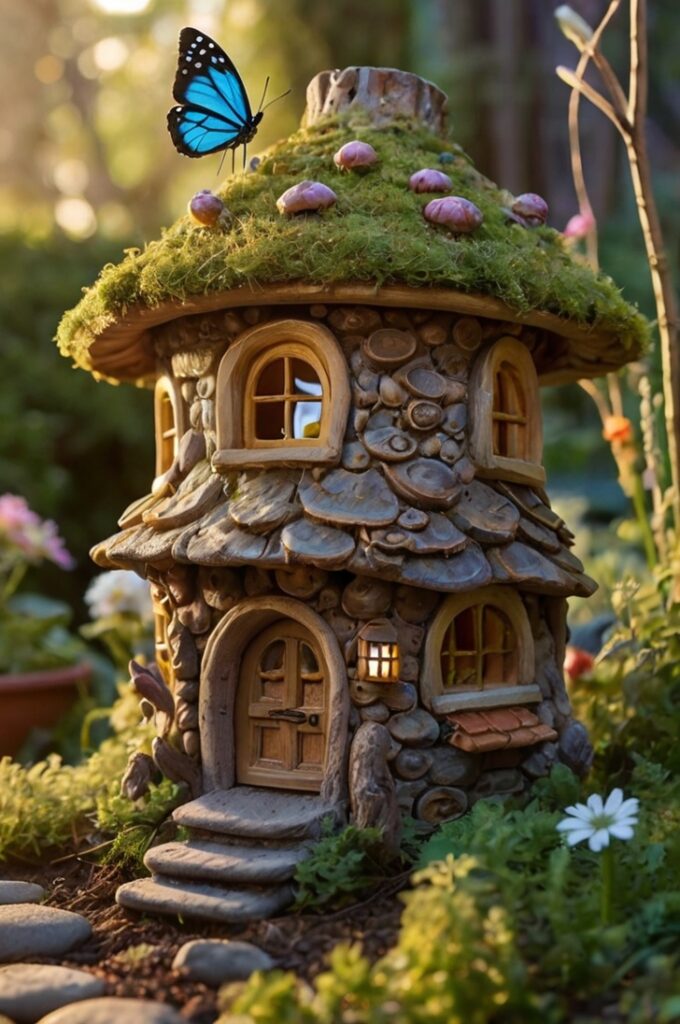
Bark makes an excellent siding material, and leaves or moss can form a beautiful, earthy roof. Layer your materials for insulation and visual interest.
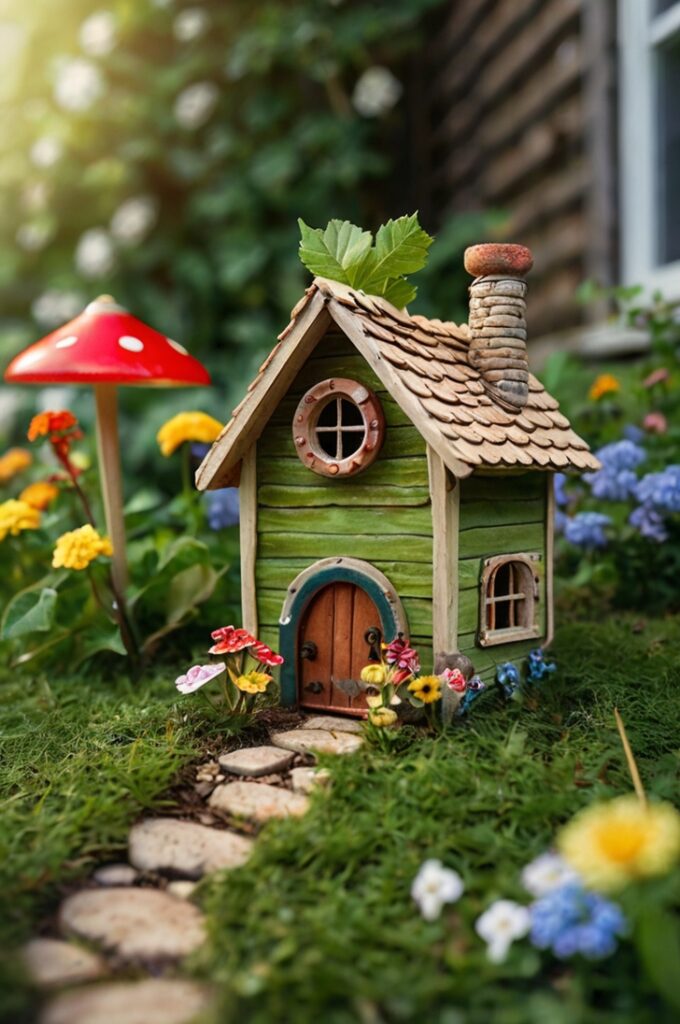
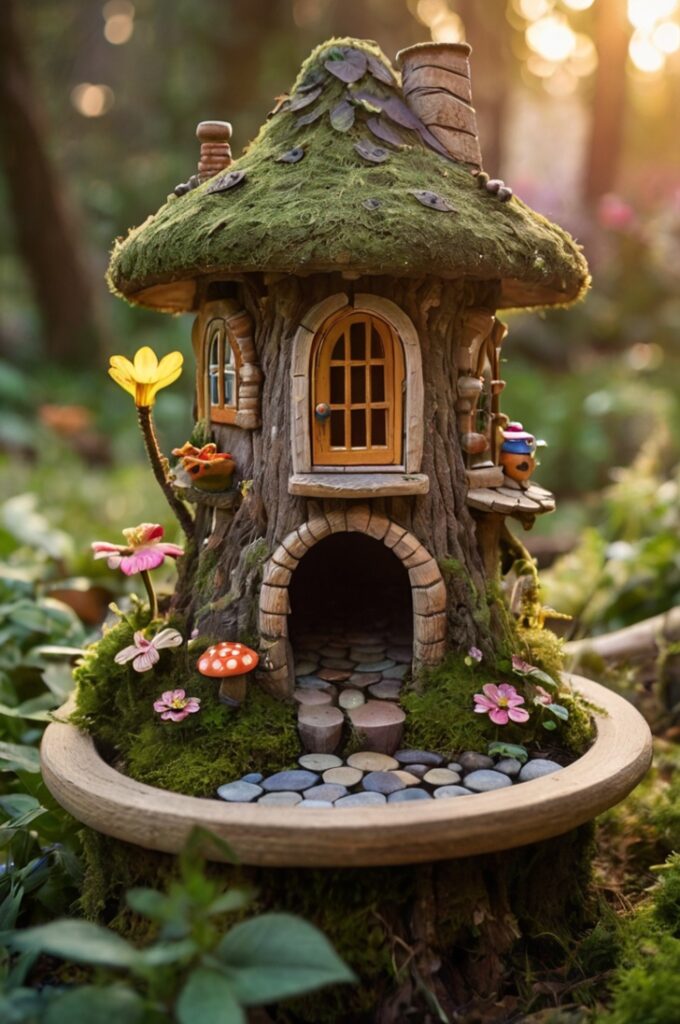
Step 5: Decorate the Fairy House
Now for the fun part! Decorate with acorns, dried flowers, shells, or even tiny furniture made from sticks and leaves. Use your imagination to add magical fairy garden details.
Tips for a Long-Lasting Outdoor Fairy Houses
- Use weather-resistant materials or place your house in a sheltered spot.
- Avoid synthetic glues if you’re building a fully natural fairy house.
- Refresh decorations seasonally for a year-round magical vibe.

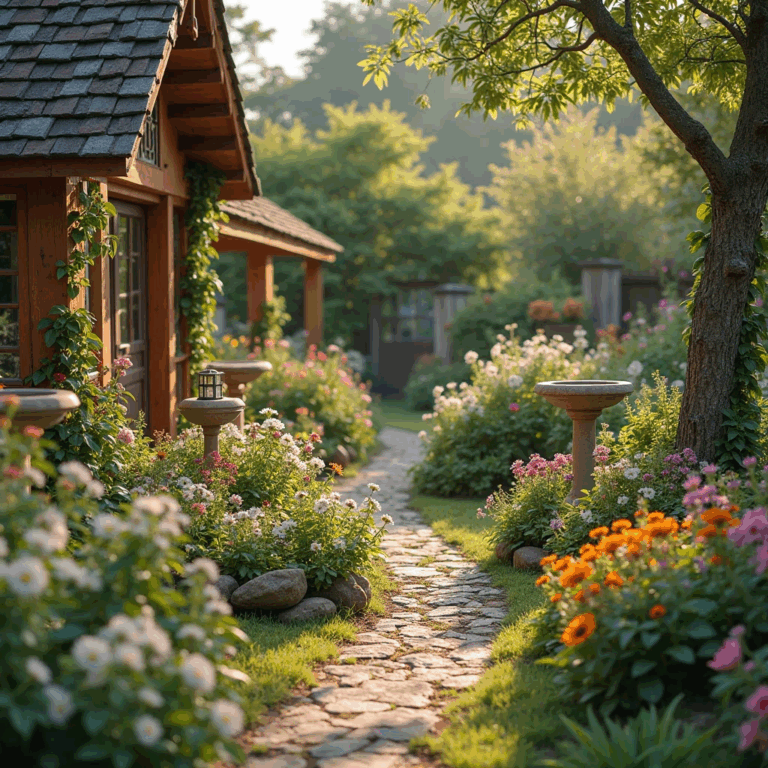
Incorporating Fairy Houses into Your Garden Design
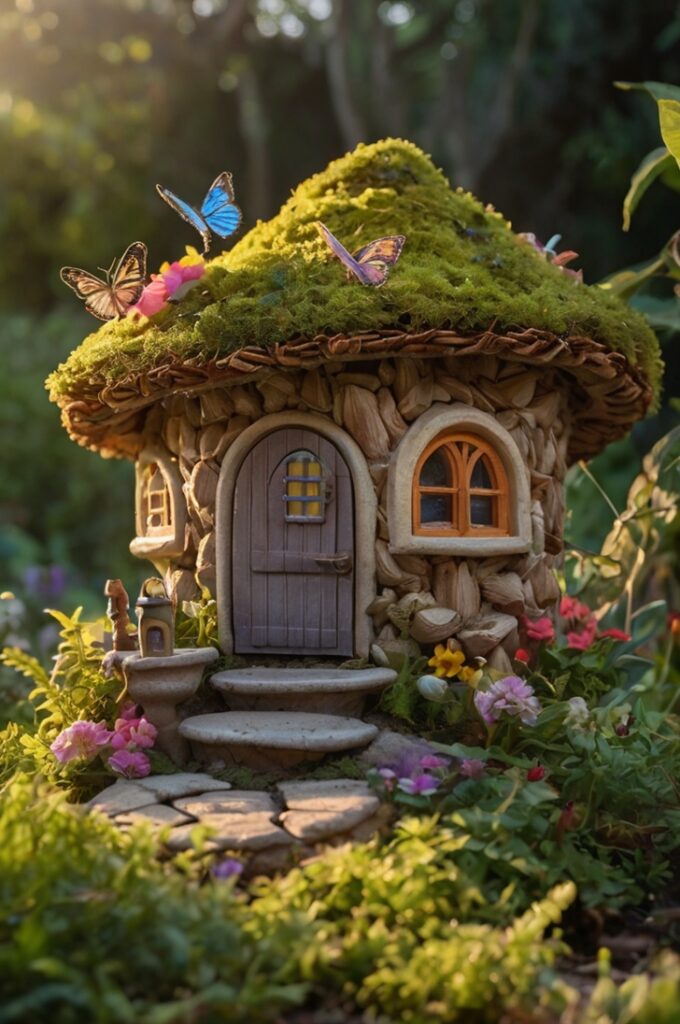
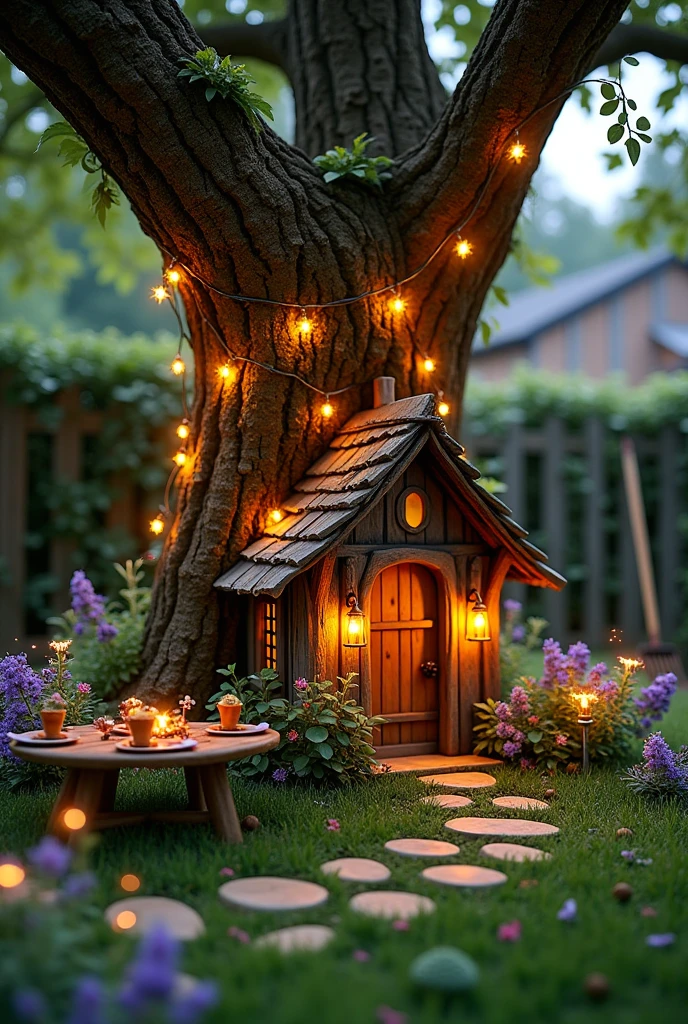
DIY fairy houses make wonderful additions to fairy gardens, forest-themed landscapes, or children’s play areas. They encourage storytelling, imaginative play, and a connection with nature.
Add a signpost, fairy lights, or a mini wishing well to expand your fairy village. Creating a community of fairy houses can become an ongoing family tradition!
Making DIY fairy houses using natural materials is a delightful, sustainable activity that brings joy, creativity, and a touch of magic to your outdoor space. Whether you’re designing a single home or building a fairy village, your handcrafted creation will inspire awe in kids and adults alike.